Prerequisites
Before you begin, make sure you have the following prerequisites:
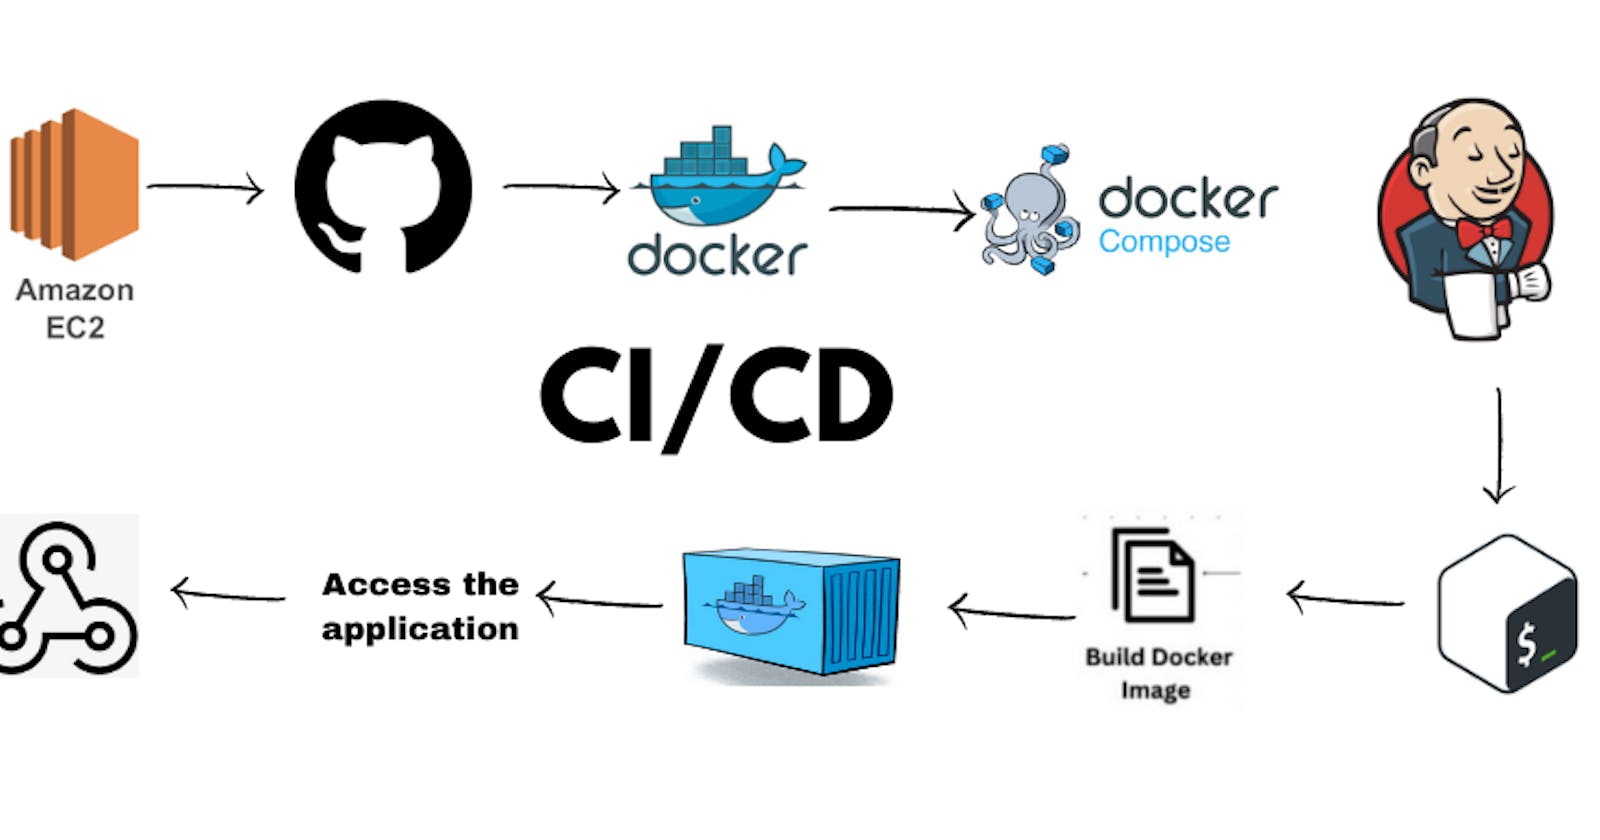
AWS EC2 instance
Jenkins installed on EC2
Docker and Docker-compose installed on EC2
GitHub account
GitHub Integration Plugin installed in Jenkins
Quick Setup Guide 🚀
1. Launch EC2 Instance
Create an AWS EC2 instance with the necessary permissions. Make note of the public IP address.
2. Install Jenkins, Docker, and Docker-compose
Follow the links below for installation instructions:
3. Fork and Clone Repository
Clone your GitHub repository onto your EC2 instance using the following command:
git clone <repository_url>
4. Create SSH Keys
Generate SSH keys on your EC2 instance:
ssh-keygen
Check the generated keys:
cat ~/.ssh/id_rsa.pub
5. Configuring GitHub
Add EC2's public IP to SSH and GPG keys in GitHub's settings. Configure GitHub Webhook in repository settings with Jenkins environment URL.
6. Configuring Jenkins
Install GitHub Integration Plugin in Jenkins.
Create a freestyle project in Jenkins:
Configure GitHub project URL.
Set up Git repository credentials.
7. Jenkins CI/CD Steps
Configure GitHub hook trigger for GITScm polling in Jenkins.
Set up Docker-compose commands for building and deploying the Node.js app.
8. Check Webhook Connection
Ensure a green checkmark in GitHub project settings indicating a successful webhook connection.
9. Run the Pipeline
On the Jenkins dashboard, click the project and build to trigger the CI/CD pipeline.
10. Access Application
Visit public_ip_of_instance:8000 to see the deployed Node.js app.
📚Happy Learning:)
